Vegan Chocolate Hot Cross Buns


It's that time of the year again when all that matters is CHOCOLATE and HOT CROSS BUNS!!! Now if you can combine the two... then you have a winning combo in my opinion. I can't quite believe it's been a whole year since I last made and shared these (they were in a collab with Free People as a takeover last year for Easter - maybe some of you can remember!) and goodness what a year it's been...
A year down the line and I have an actual baby bun in the oven, who fingers crossed decides to come out anytime now... but in the meantime, while we're waiting I am going to make a big batch of these, and I thought I'd share with you all, as I'm sure you'll be also be spending the next few days baking and eating like we are.
Hot cross buns, sound a little complicated and hard to make if you've never made them before - but trust me, they're much easier than it seems. Sure there's a bunch of waiting involved, but don't let that discourage you. They are worth it! Baking with yeast always feels a little overwhelming when you don't do it much - it's alive (!) - but really, it mainly does it's thing by itself, so don't freak out!


Ingredients : (makes about 12 buns)
For the Buns :
- 500g of white bread flour (all-purpose works too)
- 10g of instant yeast
- 75g of caster sugar (soft brown sugar or coconut sugar works too)
- 1 tsp of grated nutmeg
- 1 tsp of ground cinnamon
- 1 tsp of sea salt
- 1/4 cups of cacao powder (optional)
- 1/2 cup of vegan chocolate chips
- 300ml of plant milk such as oat/soy/almond
- 80g of vegan butter (coconut oil or a plain neutral oil would work too)
For the Crosses :
- 50g of plain flour
- 60ml of water
For the Glaze :
- 2 tbsp of maple syrup
OR
- 2 tbsp of smooth apricot jam + 1 tbsp of hot water


Method :
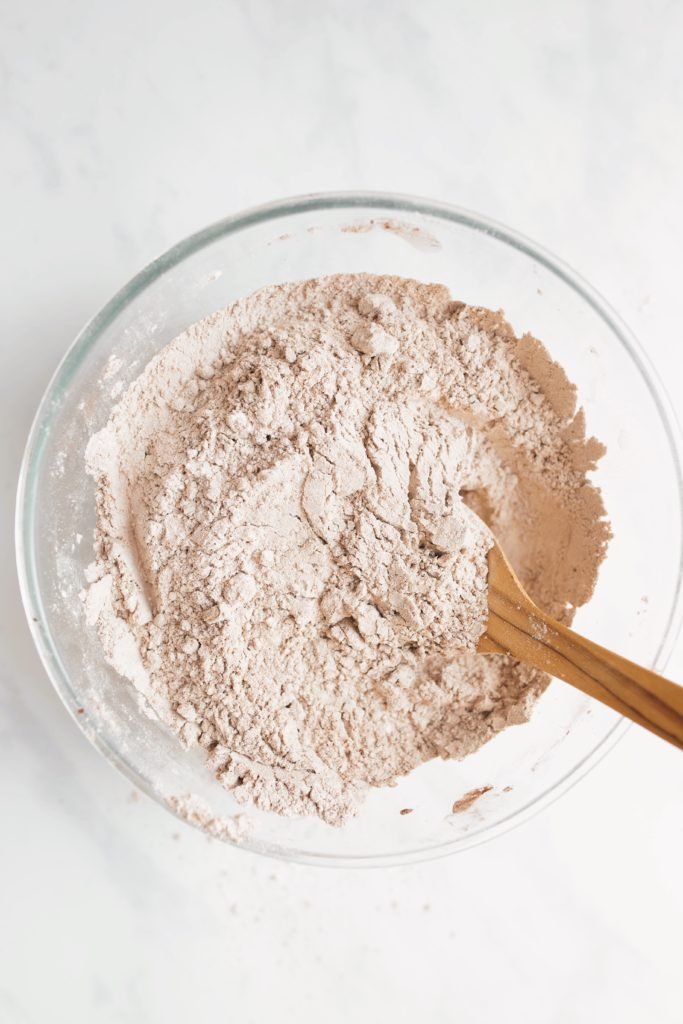
- Add all the buns dry ingredients into a bowl (but keep the chocolate chips aside for now) and mix all together until combined
- On the side, melt your butter on low heat in a saucepan. Once melted, bring off the heat and add your milk to the pan. Set aside until lukewarm (this is an important step, you want it lukewarm, too hot will kill the yeast, too cold will make it harder to activate)
- Once it's lukewarm, add the milk/butter mixture to your dry ingredients bowl, mixing with a wooden spoon until you have a shaggy dough.
- Then place your dough on a clean un-floured surface and knead for at least 5 to 10min (if you have a stand mixer you could save yourself the arm workout - but I quite enjoy kneading dough, it's quite meditative, set a timer and go!)
- Once the dough looks elastic and has come together into a nice ball, place it in an oiled mixing bowl, cover with a clean tea towel and place in a warm spot in your house until it just about has doubled in size which will take between 1 to 2 hours depending how warm your house is! (if you lack a warm spot in your home, you could always preheat your oven at the lowest possible temp - mine is about 40degrees - then turn it off, place your covered bowl inside the oven until it has risen)
- Once the dough has risen and doubled in size, knock it back, place on a very lightly floured surface, sprinkle your chocolate chips evenly on the dough and knead your dough briefly for a couple of mins, just to make sure the chocolate chips are evenly distributed (you don't want to over-knead the dough at that stage, do it briefly!)
- Divide your dough into 12 even portions that you roll into neat balls (I like to use a scale to make sure they're even)
- Place the balls/buns onto a non-stick baking tray leaving at least a 1 to 1.5cm gap between each bun. Cover the tray with your clean tea towel.
- Place the tray back into the warm spot for the buns to prove and rise again (until doubled ish in size again) for at least 30min to 1 hour.
- Once they've proved, they should be lightly touching, and if you gently poke one with a finger, it should spring back slowly - if the dough springs back quickly, they may need more proving time)
- At this stage preheat your oven at 180C on fan
- Now it's time to make the crosses - of course, this is totally decorative and optional, it's what gives them that traditional look - mix together your water and plain flour into a smooth paste, place in a piping bag (if you don't have one you can DIY one like I sometimes do with parchment paper, like so) as your buns are probably touching, just pipe one straight line across all the buns to make a cross.
- Place your buns in your preheated oven for 25min. Until the buns go a little golden and sound hollow if you tap on them gently!
- Take out of the oven, onto a cooling rack, and glaze while they're still hot! Use a clean pastry brush to do so (my favourite way is using just maple syrup, as it's easy peasy, but a more traditional way would be using smooth apricot jam, do whatever you feel like!) The glazing in my opinion is absolutely essential, and will make them stand out!
- Eat when they're still slightly warm out of the oven for the best experience, but these will keep in an airtight container once cooled for a couple of days, and will be great toasted, covered in butter or peanut butter, or just as is!
ps: if you want a more traditional bun, take out the cacao powder, and replace the chocolate chips with raisins, or a combination of dried fruits like cranberries etc.

(Click here for the non stick silicone baking mat we use *affiliate link)

I hope you enjoy making and eating these as much as I do, please let me know if you make them, make sure to tag me on Instagram (@taniajoyfjane) so I can see them :) Have a beautiful Easter weekend.